As you take the normal opportunities of your daily life and
create something of beauty and helpfulness, you improve not
only the world around you but also the world within you.
~President Dieter F. Uchtdorf

Wednesday, December 8, 2010

Homemade Christmas---Meal Planning Calendar by Tess

Here is a great gift for anyone this Christmas! It's a meal planning calendar!
I received mine early, and am so excited about it. Thanks, Tess!
Just click on the title of this post and it will take you to Tess's blog.

Tuesday, November 30, 2010

Miscellaneous Christmas Decor

It has been a lot of fun getting ready for Christmas.
I love decorating for Christmas, and living on a student budget I have had to become extra creative to try to make it festive and fun.
Here are a few ways that you can decorate for Christmas on a tight budget:

The Tree:
We bought our tree off of Kijiji last year. It was only a few years old and from Costco. We paid a quarter of the price of a "new" tree.

The Ornaments:
I found these wooden words at Dollorama last Christmas and stocked up. My daughter (2 years old) helped me paint them red. The other ornaments are homemade as well, or I found in the clearance section at Michaels at the end of the season in a previous year.

The Porch Tree:
I had really wanted a tree for our porch, but just couldn't swallow paying $80 plus that a lot of places are asking. I had an idea and it worked out pretty well......I just bought the cheapest tree I could find (it's a 3.5 ft Walmart tree--$15), a strand of outdoor lights from Walmart ($8), a square pot ($10) to place it in and then just used decorations and ribbon that I had from previous years. It ended up being under $40 for the tree! I am wanting to add another one next year, but thought one this year was a good start!


The forest shutters and garland: I found these shutters at Homesense last January. The markdown stickers were about 2 inches thick on the back as they had been marked down so many times! They were originally $30 each, and I got them for $0.70 each! I saved them all year and was excited to use them!
The garland is just Walmart garland that I also bought in January at the end of the season when it was dirt cheap. I just doubled it up to add fullness and then added some berries that I already had and some of the dollar store wooden words. Total cost.....about $5.
I think that's really the secret.......buy things in January or at the end of the season, then just hold on to them for the year (that is the hard part, though). You will find some great deals this way!


Tuesday, November 23, 2010

Stockings

I have been working away trying to get our stockings ready, and am glad to say they are done and hanging!
I wanted something quite countryish and had a hard time finding anything like that. My mother-in-law gave a pattern from Under the Garden Moon to my sister-in-law, and it looked just like what I was thinkning, so I used that as a basic guide, added some of my own ideas, and with the help of Tess and Trina came up with these:


I think they turned out pretty cute, and because of the country look they complemented my imperfect sewing and embroidering skills! I wanted to have our names on them somewhere, and I think it turned out well to just embroider them at the bottom of the sock.
I made a matching tree skirt out of the same background fabric as the stockings and just added some roping I found in the clearance section at Wal-Mart. It's simple, with just the roping and some pleats, but looks much better than the fabric I had pooled around as a makeshift skirt for the past couple of years.
It has been really fun to get ready for Christmas this year and to try to make some things for our little family.


Thursday, November 4, 2010

More Wedding Details.....Flower Pins

Now, don't mind the poor photography, but you will get the idea.

For the wedding our sister wanted all the girls in plum sweaters with pencil skirts. Seeing as flowers are such a cheap, fun and easy way to spice things up a bit, we decided to make a flower pin for each of the girls.
We took different shades of purple fabric, as well as a few different types of material (satin, taffeta, and netting) and cut out various sizes of circles. We then melted the edges of each circle with a lighter, placed the circles ontop of each other in layers and stuck a brad through to connect them all.
After this we just used some Aleene's Jewel-It embellishing glue (found at Michaels) and attached pearls (from neclaces at Dollorama). Allow glue to dry then place a few safety pins on the back to attach to sweater! Voila! They turned out cute and added that needed little touch of colour and texture!
*A good tutorial is found on the blog "Make It & Love It".


Monday, November 1, 2010

Stockings & Tree Skirts

Now that Halloween is over (yes, it has been one day), it is time to start thinking Christmas!

I really want to make some stockings and a tree skirt this year. Here are a few ideas I have come across on Etsy:


Plus:

Free Amy Butler patterns! So cute!


What are you dreaming up for the Christmas season this year?

Wednesday, October 27, 2010

A few more details from Sarah & Logan's wedding.....


The Cake: My cousin Christy was the mastermind and creator of the cake. I will have to post a picture the real photographer took, but this was the best I got, sadly.

Christy has been the one to make cakes for all our weddings, and she does such a good job.


Tess's cake by Christy.....

My cake by Christy.....


Next:
This floor decal was an idea I borrowed from my friend Jen C's sister's wedding. We had a lady in Taber (who owns a Cricut Expression) make it for us. She had to piece it together, but did such a great job that you would never be able to tell.
It turned out really fun and added a little personalized touch to the dance floor.


Saturday, October 23, 2010

Family History Memory Keeping

I got to be a part of a Relief Society evening on Family History work. Here are some ideas for Family History Memory keeping. Enjoy!

https://docs.google.com/fileview?id=0B6ZRJ--P7lB5ZjgyNzk4OTAtZmRjYy00ZDA1LTk5NzctZmE0OWQ3MmUxMjQx&hl=en&authkey=COSc68MG

Wednesday, October 20, 2010

Love is Sweet


At my sister's recent wedding, we opted for a little spin on the ever-popular candy favour table. My mom, being the crazy and determined woman that she is, decided to make 450 carmel wrapped and chocolate dipped pretzel rods. Mmmmmmm. They were so good! We helped her wrap the rods with the homemade caramel, but she did all the dipping, and my dad even got in on the packaging. Good work, team!
We found the acrylic cannisters at Winners for $12.99. They are now being used as cookie jars and or flour containers at our various homes.
Tess was the mastermind behind the "Love Is Sweet" sign. She created it using Photoshop and then had it printed at Costco for under $2. The frame is Ikea.
Along with the pretzel rods, we had Wildberry Twizzlers cut in half as another option for those who weren't chocolate lovers. Both the licorice and the pretzel rods were a big hit.

Recipe for Mom's Caramel:
2 cups brown sugar
1 cup Eagle Brand Milk
1 cup Lily White corn syrup
1/2 lb. butter/margarine
Stir in sugar, syrup, Eagle Brand milk together before putting on stovetop. Then add butter. Have burner set on high heat. With wooder spoon stir continually. Turn heat down to medium, but make sure you stir all the time. With thermometer boil just to softball stage. To test for softball stage, have some cold water in a cup and pour a spoonful of the carmel in the water. When a softball forms, the candy is done.
Pour into buttered pan and let set up.

To make the pretzel rods cut the cooled caramel into approximately 1/2 " by 4" rectangles. Wrap around the pretzel rod and store until ready to dip with chocolate. You can drizzle with white chocolate after as well for a nice finished look, or roll in nuts or sprinkles.

Monday, October 4, 2010

Dresser Redo

This summer I found a cute dresser on Kijiji for $35. We had been thinking to get a dresser for our little girl (and soon to come little boy) to share. I thought this dresser had a lot of potential with the nice lines and character. It turned out even better than I thought! Tess did the painting (as I am not allowed to paint at the moment due to the baby boy on the way). She is so good! Thanks Tess for making this happen!
She just spray painted the existing hardware black. It worked out well that we already had the cream paint and the black spray paint! The dresser is solid wood and the drawers work perfectly! A "new" dresser for $35!

Wednesday, September 15, 2010

Another Cheapy Easy Recipe

I tried this recipe this past weekend and thought it was a great variation to our usual plain ol' taco recipe. It's quick and very tasty!
This is a recipe from my friend Debbie.

Cheesy Nacho Beef Dinner
1 pkg Rice-A-Roni (I used the Spanish one)
1/2 lb. ground beef
2 cups water
1 cup salsa
1 can corn
1 cup (or can) black or brown beans
1 tomato, chopped
Shredded cheese
Sour Cream
Tortillas or nacho chips

Saute rice with beef in large skillet over medium heat until beef is browned. Stir in water, salsa, corn, beans and seasonings. Bring to a boil. Reduce heat to low. Cover and simmer 15-20 minutes until rice is tender. Stir in chopped tomatoes. Wrap in warm tortilla with cheese and sour cream (or on chips).

Tuesday, August 31, 2010

Style Me Pretty

I came across this great site. We are in full wedding mode right now and this place has some great ideas!
http://www.stylemepretty.com/

Thursday, August 26, 2010

Whitefield Design by Brynn Snyder

I have been meaning to spread the word about one of my talented friends. Brynn (MacLennan) Snyder and I have been friends for....well, our whole lives, I guess. She has recently started her own design company and it is definitely worth checking out. She graduated in Industrial Design with a Bachelor of Fine Arts from Brigham Young University and is one creative girl. So far I have been the lucky recipient of some beautiful thank-you cards, and a personalized monogram address stamp. She does great work. Check it out!
http://www.whitefielddesign.com/index2.php#/home/
or
http://www.whitefieldprints.blogspot.com/

Friday, August 13, 2010

Take A Look -- White Berry Reinvented

I just discovered this talented lady's site. She is in the Edmonton area, which makes it even better!
http://www.whiteberryreinvented.com/index.htm

Tuesday, August 10, 2010

Wedding Bells

Our sister is going to be getting married in about 8 weeks, which will make her wedding a Thanksgiving/Fall one.

Weddings are one of the best times for creativity to shine through. Trying to get big impact for the least price takes some real talent.

With this in mind, we would love to see what you, or someone you helped, did for a wedding. Send in your pictures of anything wedding related to creatingdaily@gmail.com. Don't be shy, it will be fun to share some ideas! Also don't worry about what season your wedding was, just send em' in.

Here are a few to start from my own......so long ago, haha.....

The dress---I have always been interested in designing dresses, and so I was able to design my dress, find and put together the fabric, and with the help of my amazing seamstress, create just what I had hoped for. I love lace!


The bouquet. I love hydrangeas, and being summer I was able to have fresh ones! I pinned my grandma's broach onto the bouquet for an extra personal touch!


The cake was made by my talented cousin. I am a chocolate lover, so this was a fun treat!


The guest book I made using fabric paper and pictures my father-in-law took of us. We also had at the guest book table a picture frame with "10 things Darin loves about Jenna, and 10 things Jenna loves about Darin." This has been fun to have hanging in our room and to read over.....some things just don't change!


My mom had aprons made for us. "Darin loves Jenna" and "Jenna loves Darin" printed on them. We still love wearing them!


The centerpieces were welded iron twisted rods with a 4-legged base. My father-in-law and brother-in-law were the creators of these. My mom and I did the hydrangea flower arrangements.


The backdrop was a creation from my sister-in-laws family. We just added our own flowers.
Posted by Picasa


And a few ideas from others......


Tuesday, July 20, 2010

Easy Yummy Rotini Bake

This recipe has been a good one to substitute for making Lasagna. It's easy and kids seem to really like it!
Enjoy!


Rotini Bake

12 oz. uncooked curly rotini or small tube pasta
1 lb ground beef
1 jar( 26 oz.) spaghetti sauce
2 eggs slightly beaten
1 carton cottage cheese (16 oz.)
2 cups grated mozzarella cheese (divided)
1/2 cup grated Parmesan cheese

Preheat oven to 350 degrees.

Cook noodles according to package directions and drain.

In frying pan, brown and drain beef while noodles are cooking. Stir spaghetti sauce into beef.

In a large bowl, combine eggs, cottage cheese, 1 cup mozzarella, and parmesan cheese. Gently fold cooked pasta into cheese mixture. Spread third of the beef mix over bottom of a greased 9X13 pan. Place half the pasta mix over beef. Layer another third of the beef over noodles. Layer remaining noodles over top, followed by remaining beef mix. Cover and boake for 40 minutes. Uncover and sprinkle remaining cheese over top. Return to oven and bake for 5-10 min more, or until cheese is melted. Makes 6-8 servings.

Tess's Baby Shower


Last week I was able to host a baby shower for Tess and her new baby Emilie! It turned out to be a lot of fun, and the food was great (thanks to the Burrs, Whitney and Dani).
I was in charge of doing a few decorations and wanted to do some things that Tess could have for Em's room.
I found this idea a long time ago and had wanted to try to make these picture boards. Now was the perfect chance! I hit up Home Depot and lucked out finding a large piece of MDF board in the clearance bin for $5. I then (with the help of my husband) found a kind employee of Home Depot to cut it into 12 x 12 inch boards (for free might I add!). Thanks Home Depot!
I did a few coats of cream paint on the boards........let dry overnight.......then found some cute coordinating 12 x 12 scrapbook paper. I trimmed the paper just a tad so that a bit of the cream colour was showing and so it was easier to apply the paper.
I put a layer of Mod Podge on the painted (and sanded) board......then placed the paper on......then another layer of Mod Podge ontop of the paper. I must confess that I find Mod Podge tricky at times and find it hard to make things perfectly smooth, so if anyone has any tricks, please share! So smooth out the best you can with your fingers, and then let dry. I then Mod Podged a 5 1/2 x 5 1/2 piece of cardstock onto the center of the board. This is the matte for the pic, so do it as much wider than the pic as you desire. I did the pics 5 x 5.
Tess, Whitney and I took some pictures of Emilie and so we used those for the center. I just applied those with some scrapbook adhesive squares. I thought they turned out really cute and will be a good addition to Emilie's room!
On the fourth board I did an "E" instead of a pic. The sky is the limit with the things you could do with a piece of MDF.

My mother-in-law said you can get 12 x 12 pieces of MDF precut at Windsor Plywood, so that's a little tip for you if you don't feel like doing the whole Home Depot thing.


I didn't get a close up of these, but you can see them off to the sides here. I saw some flower balls at Michaels and thought they were really cute but didn't want to pay the $7 for one! So I bought some various sizes of styrofoam balls at Michaels (they were on sale even!) and at the Dollar Store. I then cut up tissue paper in the colours I wanted (about 2 inch by 1 inch strips), coated the styrofoam ball in sections in Mod Podge (yes, I love this stuff) and then crinkled and applied the tissue paper. After the ball was completely covered with tissue paper, I poked a clear push pin into the top of the ball, to which I tied a piece of ribbon to hang it. My original idea was to make a whole bunch of these and hang them from a wreath to give the look of a baby mobile, but time ran out and I just ended up hanging what I had from the roof. They are a bit time consuming, but cost effective and can be used over and over!

Friday, June 18, 2010

French Door Headboard Finished!

My mom finished up her french door headboard, and finished redoing the bedroom. I think it turned out so great! Good work, Mom!

Tuesday, June 8, 2010

Charger Makeover by Whitney Baldry

My sister-in-law Whitney is always working on a creative project, inspiring others! Here is one she did recently.
She took her old charger plates, some mod podge and some cute fabric and gave her plates a new look! They turned out so cute, and I love it because this is an easy and inexpensive project, with a big result! You can pick up charger plates at many places, even Superstore or Wal-Mart, or possibly even Value Village.


She painted the plate with Mod Podge, then laid a piece of fabric that covered fully, with a fair amount of extra. She then painted the top as well, and after drying used an exacto knife and trimed the edges to get the nice crisp edge.


They turned out so cute! You could do some fun ones for any season or holiday!
Thanks Whitney!

Tuesday, June 1, 2010

The Binder

For Christmas this past year, I made some special binders for all the girls in our families. I call them the "Create" binder. It was a fun project, and I was able to customize each binder to suit the recipient, and their special interests in creating.

For example, my mother in law had sections in her binder for: sewing, cooking, landscape/outdoors, scrapbooking and a special section for "Mountain View," which is where she and my father in law plan to retire and build a place, so she is always looking for ideas for this special spot.

I just remember my mom always hauling around a scribbler or vinyl binder as we were out shopping or at the fabric store, and I thought this cute binder could take its place. This is a place where you can store magazine clippings, articles, pictures, patterns, fabric swatches, etc... really anything that might inspire you! I like having a place to keep things as I dream up a project.


At the front of the binder I included an excerpt from Elder Dieter Utchdorf's talk on creation. (see end of post for this).

These are a few things that I found at Dollorama to put inside. A calculator (that clips into the binder), a good pen, a note pad, post-it notes, page dividers for the different sections, a measuring tape, and if you can think of any other useful things.....go for it!


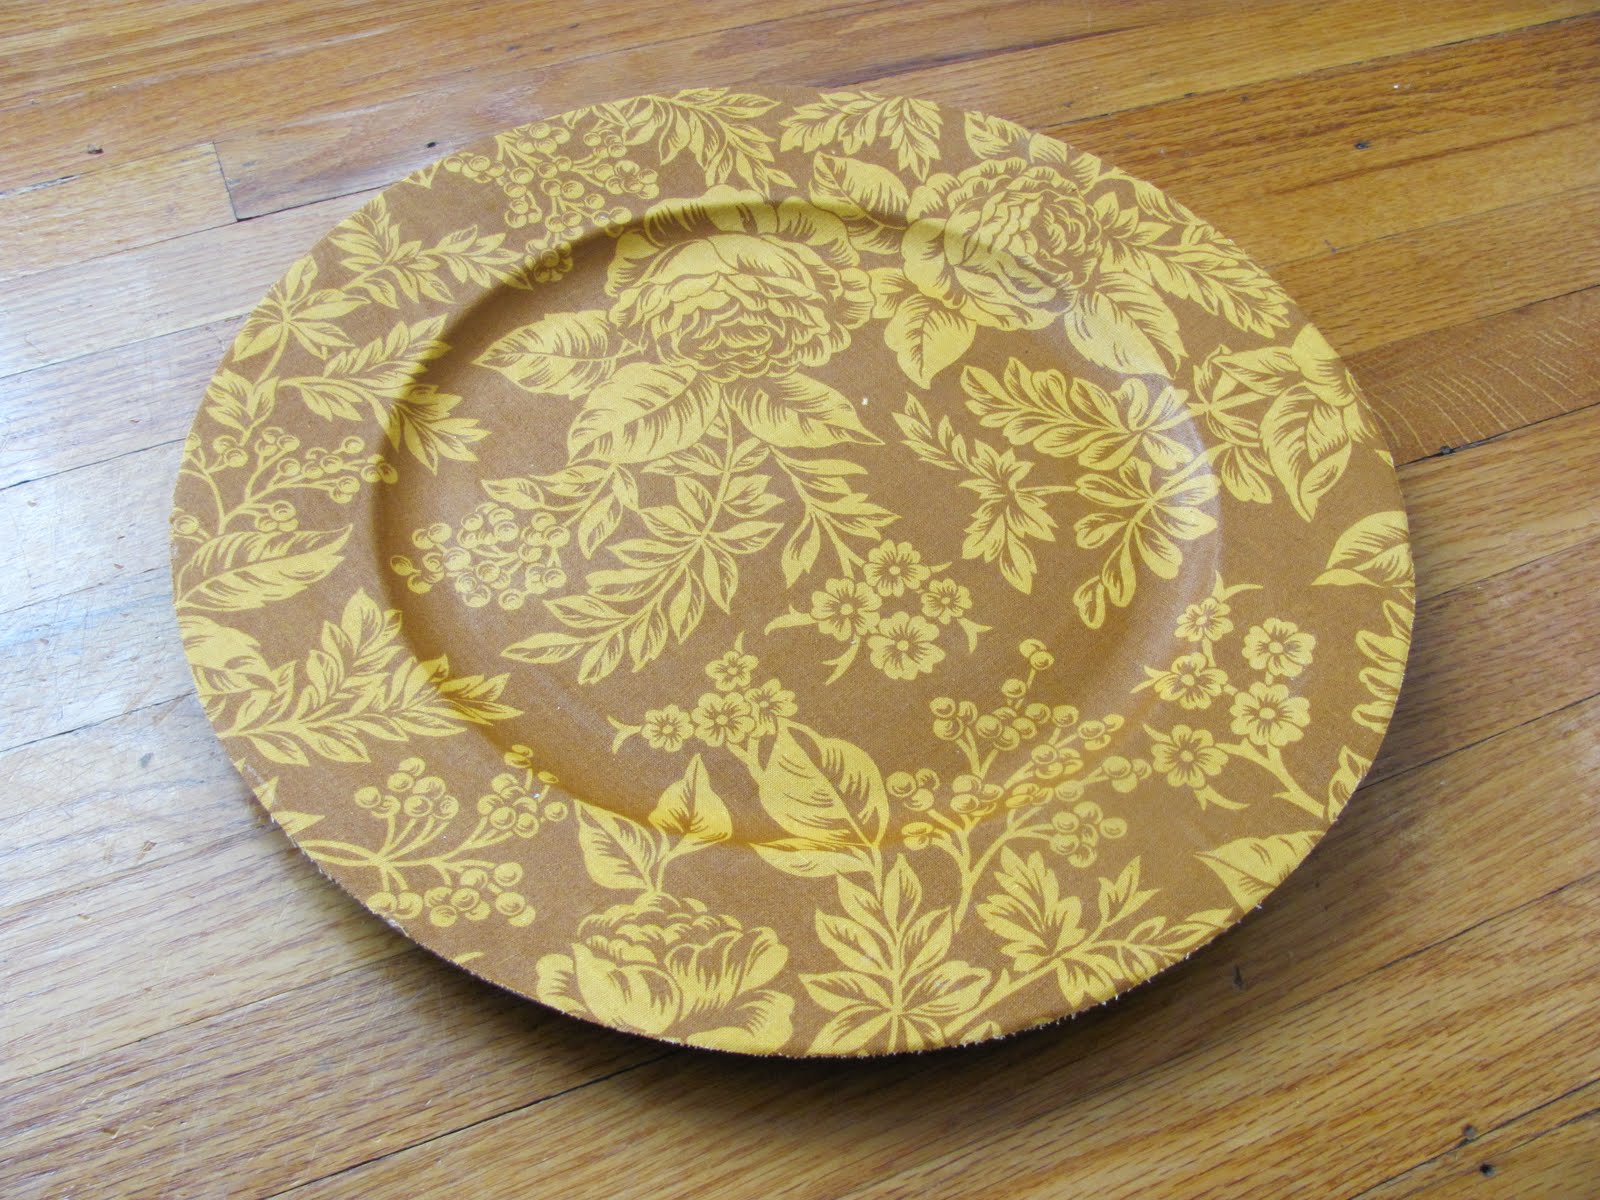
I used cardboard binders purchased at Wal-Mart. I used Mod Podge with some cute paper to cover. I distressed the sides with an ink pad.


This is the paper pad I used for all my binders. I love Amy Butler fabric, and the paper is just the same! It was $10 at Wal-Mart for a big pad too! You can add any embelishments you desire to spice it up more!


(This talk I had inside a plastic page protector at the beginning of the binder.)
The Work of Creation
The desire to create is one of the deepest yearnings of the human soul. No matter our talents, education, backgrounds, or abilities, we each have an inherent wish to create something that did not exist before.
Everyone can create. You don’t need money, position, or influence in order to create something of substance or beauty.
Creation brings deep satisfaction and fulfillment. We develop ourselves and others when we take unorganized matter into our hands and mold it into something of beauty—and I am not talking about the process of cleaning the rooms of your teenage children.
You might say, “I’m not the creative type. When I sing, I’m always half a tone above or below the note. I cannot draw a line without a ruler. And the only practical use for my homemade bread is as a paperweight or as a doorstop.”
If that is how you feel, think again, and remember that you are spirit daughters of the most creative Being in the universe. Isn’t it remarkable to think that your very spirits are fashioned by an endlessly creative and eternally compassionate God? Think about it—your spirit body is a masterpiece, created with a beauty, function, and capacity beyond imagination.
But to what end were we created? We were created with the express purpose and potential of experiencing a fulness of joy.4 Our birthright—and the purpose of our great voyage on this earth—is to seek and experience eternal happiness. One of the ways we find this is by creating things.
If you are a mother, you participate with God in His work of creation—not only by providing physical bodies for your children but also by teaching and nurturing them. If you are not a mother now, the creative talents you develop will prepare you for that day, in this life or the next.
You may think you don’t have talents, but that is a false assumption, for we all have talents and gifts, every one of us.5 The bounds of creativity extend far beyond the limits of a canvas or a sheet of paper and do not require a brush, a pen, or the keys of a piano. Creation means bringing into existence something that did not exist before—colorful gardens, harmonious homes, family memories, flowing laughter.
What you create doesn’t have to be perfect. So what if the eggs are greasy or the toast is burned? Don’t let fear of failure discourage you. Don’t let the voice of critics paralyze you—whether that voice comes from the outside or the inside.
If you still feel incapable of creating, start small. Try to see how many smiles you can create, write a letter of appreciation, learn a new skill, identify a space and beautify it.
Nearly a century and a half ago, President Brigham Young spoke to the Saints of his day. “There is a great work for the Saints to do,” he said. “Progress, and improve upon and make beautiful everything around you. Cultivate the earth, and cultivate your minds. Build cities, adorn your habitations, make gardens, orchards, and vineyards, and render the earth so pleasant that when you look upon your labors you may do so with pleasure, and that angels may delight to come and visit your beautiful locations. In the mean time continually seek to adorn your minds with all the graces of the Spirit of Christ.”6
The more you trust and rely upon the Spirit, the greater your capacity to create. That is your opportunity in this life and your destiny in the life to come. Sisters, trust and rely on the Spirit. As you take the normal opportunities of your daily life and create something of beauty and helpfulness, you improve not only the world around you but also the world within you.
-President Dieter F. Uchtdorf

(I used this quote on the front inside flap)
As you take the normal opportunities of your daily life and create something of beauty and helpfulness, you improve not only the world around you but also the world within you.
Dieter F. Uchtdorf

Thursday, May 13, 2010

Baby Mobile by Dani Henrie

I'm just starting to explore my crafty side, I think being a new Mother has inspired me to create more often. This is what I came up with. When we began decorating baby Haylen's room a few months ago (mind you we're not done yet!) my husband's only request was that Haylen have a mobile to look at. (This actually has been one of his most brilliant ideas. The Mobile has quieted Haylen's cries on more than one occasion, and waking up to him talking to his little owl friends in the morning is the greatest sound in the world as far as I am concerned.) I was, and still am not, up to paying >$30 for a toy Haylen can't even play with, so I set out to make one of my own. I'd seen similar ideas on Etsy.com but ended up combining several ideas with a few twists of my own.
The owls, tree, and stars are made of felt, the bellies are cotton scraps left over from the crib quilt (reinforced with interfacing). I ended up hand stiching them as the felt clogged up my sewing machine (like...really bad!). I bent a hanger into shape and covered it with brown ribbon to hang the owls from. I'm sure there was an easier, better-looking solution here but I couldn't come up with one. Anyways, this is the final project.